Showing posts with label ribbons. Show all posts

Saturday, July 4, 2015

Crazy Quilt Owl Block

I created an owl block at the request of Pamela Kellogg for her Autumn 2015 magazine publication.  I was so excited, yet nervous, when she asked me to do one.  She only asked that it be in fall colors and include an owl and maybe fall leaves.  That gave me a good starting point yet left me lots of room to play.  I thought I would share the full block along with some close-ups with you now since she has made the cover public.

Final Completed Owl Block

For those of you who did not see the announcement, below is the image of the cover of her upcoming magazine featuring my block.  The magazine will be available August 1 which is just around the corner.  Her blog is http://www.kittyandmedesigns.blogspot.com/ where you will find some beautiful work and a link to order this magazine or her previous publications.  Click HERE.

Final block used for Pamela Kellogg's publication

Planning my block:

Since the main subject of the block was to be an owl I had to first decide how I wanted to incorporate the owl.  Options included doing an outline stitch or use an embroidery pattern stitched directly onto the block, find a silky with an owl feature, paint an owl onto fabric, or (the option which I chose) to stitch onto felt.  I actually chose the latter because I have wanted to try this technique and because the icon could then be moved around to find a favorable placement.  The other options were pretty permanent once stitched.  I cut out a silhouette of an owl I had drawn to check the size and play with placement.

Planning owl size and placement
Here is the owl which I stitched, both front and back.

My final stitched owl

The back side of stitched owl (not so pretty)
Below is the placement I chose at which point I began adding decorative embroidery stitches.

Placement of owl
I then used some leaves from a silk flower arrangement to decide on leaf placement before I actually stitched them in place.  I sort of wish I would have used the same technique for the leaves that I used on the owl...but I didn't.  I think they would have showed better and I would have had more options for placement.

Planning placement of leaves
At this point (below) I had all the seams treated and the owl, branch and leaves stitched.  I could have called it done at that point, but kept thinking it looked a bit blah and uninteresting.

Completed version one
So I kept going...here are some close-ups:

seam close-up

Seam close-up

Button cluster and owl close-up

Close-up

Spider and web close-up

Trailing vine close-up


Shibouri ribbon floral

This was my first attempt at using Shibouri ribbon.  The colors were perfect and I love the texture and dimension it adds.  Below again is the completed block.  I was glad I continued to add details as I think it adds so much more interest without taking away from the focal point, don't you?

Finished block

Although this wasn't part of my CQJP 2015 journey, I learned new things and I will definitely use the stitched felt technique on future blocks.  I will also use the Shibouri ribbon again.  Now to figure out what to do with the block!

Tuesday, May 26, 2015

CQJP 2015 - May Block - Ribbon Play

My completed May CQJP block - Playing with Ribbons
This month I played with Ribbon trims etc.  This is my completed block.  I will definitely be incorporating many of these in future projects.  I love ribbons and have a few references that, up until now, I have only drooled over.  This was a good opportunity to experiment.  I hope you like the results enough to try it yourself.


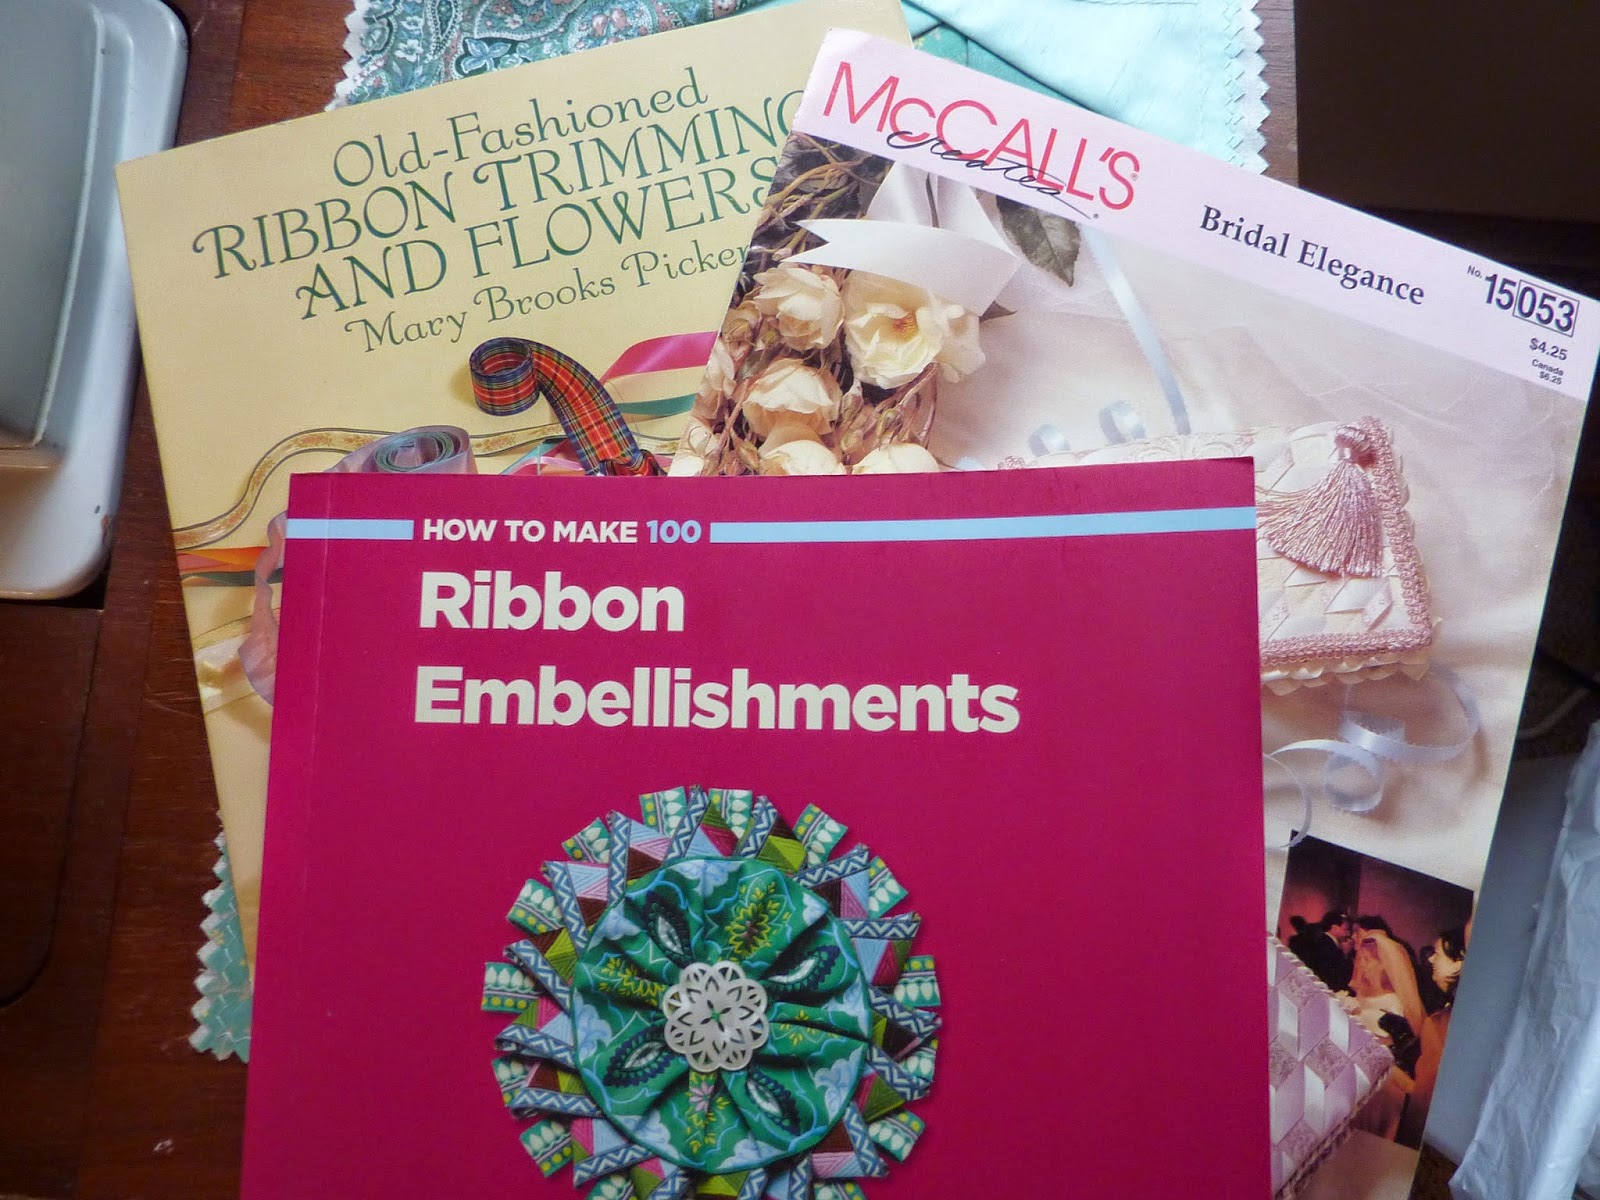
I began by replacing the center patch with a piece of woven ribbons.  For the woven ribbons I followed the directions on the booklet by McCalls called Bridal Elegance.  There are lots of possibilities with this weaving.

I believe I incorporated ten different ribbon trims/techniques not counting the little silk ribbon flowers just above the braided ribbons or the rosebud trim.  There were many more I could do but my blocks are going into a fabric book which would have flattened them so I chose to stick with the more flat techniques.  Lots of close-ups follow, captioned with the name of the ribbon trim techniques:

Ribbon Prairie Points topped with vintage rick rack, decorative embroidery and beads

Ribbon Beads Trim and silk ribbon woven through closed blanket stitch

Silk ribbon roses stitched over silk flower petals; center gathered ribbon below that
along with a ribbon bow

A little closer view of the center gathered ribbon and silk roses

Looped ribbon (top) and rosebud trim (center) - This wasn't added to block, just played with it

Another angle of looped braid and rosebud trim

Top view of two ribbon techniques

The narrow sheer ribbon in teal was used for the rushing technique -
Adds wonderful texture

Ribbon bow adorned with seed beads which also hold it in place
and a section of looped braid


3 colors of 1/4" ribbons - braided trim


Below are some books from my reference library.  I would recommend any of them.


Lots of eye candy and instructions in the following two books.  Beautiful vignettes and project photos for inspiration.


Ribbon Embellishments is a 'how to' book I just found at my local Hobby Lobby.  It is an excellent source with very clear directions and lots of photos of Trims/Braids, Rosettes and Leaves, Ribbon Sculptures and techniques with beads and baubles.  This is a definite keeper!


Now I need to figure out what I am going to do for June.  I have a few ideas but just not sure which to do next.  

Friday, February 27, 2015

Spiderweb Rose

Another silk ribbon rose version called the spiderweb rose


Ribbon rose tutorial (as promised) by Donna (my mom)


A little larger silk ribbon rose


Sweetheart Rose

A little rose in silk ribbon.


Sunday, September 14, 2014

CQI Retreat Photos

 
I returned home from the Crazy Quilt International's Retreat near Kansas City, MO yesterday.  There was so much talent there and such nice ladies.  They made me feel so welcome and after just a few days I felt like I had know several of them for years.  I am still recovering and playing catch-up at home so this is mostly photos from the retreat.  I think there were about five of us attending this retreat for the first time and about as many that have attended since their retreats began.


Above is my roomy, another Connie (Kalina).  She was so much fun.  She has attended every retreat this group has had.  (She is the 'evil' Connie though so if you happen to know her don't let her tell you otherwise).  The piece she is holding is of her female ancestors and was stunning.


Above shows the International blocks the group had worked on.  They too were amazing and as you can see received a lot of attention and close viewing.  So much detail!


This was a class in progress and obviously an interesting one by the attention the instructor is receiving.  Several mini classes were offered free throughout the retreat.


This is Cathy who created a beautiful block for Pamela Kellogg's 2015 CQ Calendar.  Cathy is also the one who (tried) to keep us in line and informed throughout the retreat.


Activities other than mini sessions included introductions/orientation, show and tell, gift exchange and a stash swap.  Vendors within the group had tables of luscious supplies set up that we could purchase and many (if not all?) of them contributed to a gift bag of goodies we each got to bring home with us.

Photos of my stash dash, purchases, and gifts or handouts are shown below... 


The box and some of the supplies inside are from the gift exchange.  When I got home I organized all my trims, fibers, beads/buttons, silkies, laces etc. inside the handy and pretty box.


Thankfully I can say I did not come home with near as much fabric as I contributed for the stash dash! 


I am determined to do something with all the goodies and not let them just sit around unused.  My first retreat was a very positive experience and I hope to participate in more in the future.  A special 'Thank You' to all the CQI stitchers for making me feel welcome!