Showing posts with label bead embroidery. Show all posts

Saturday, March 1, 2014

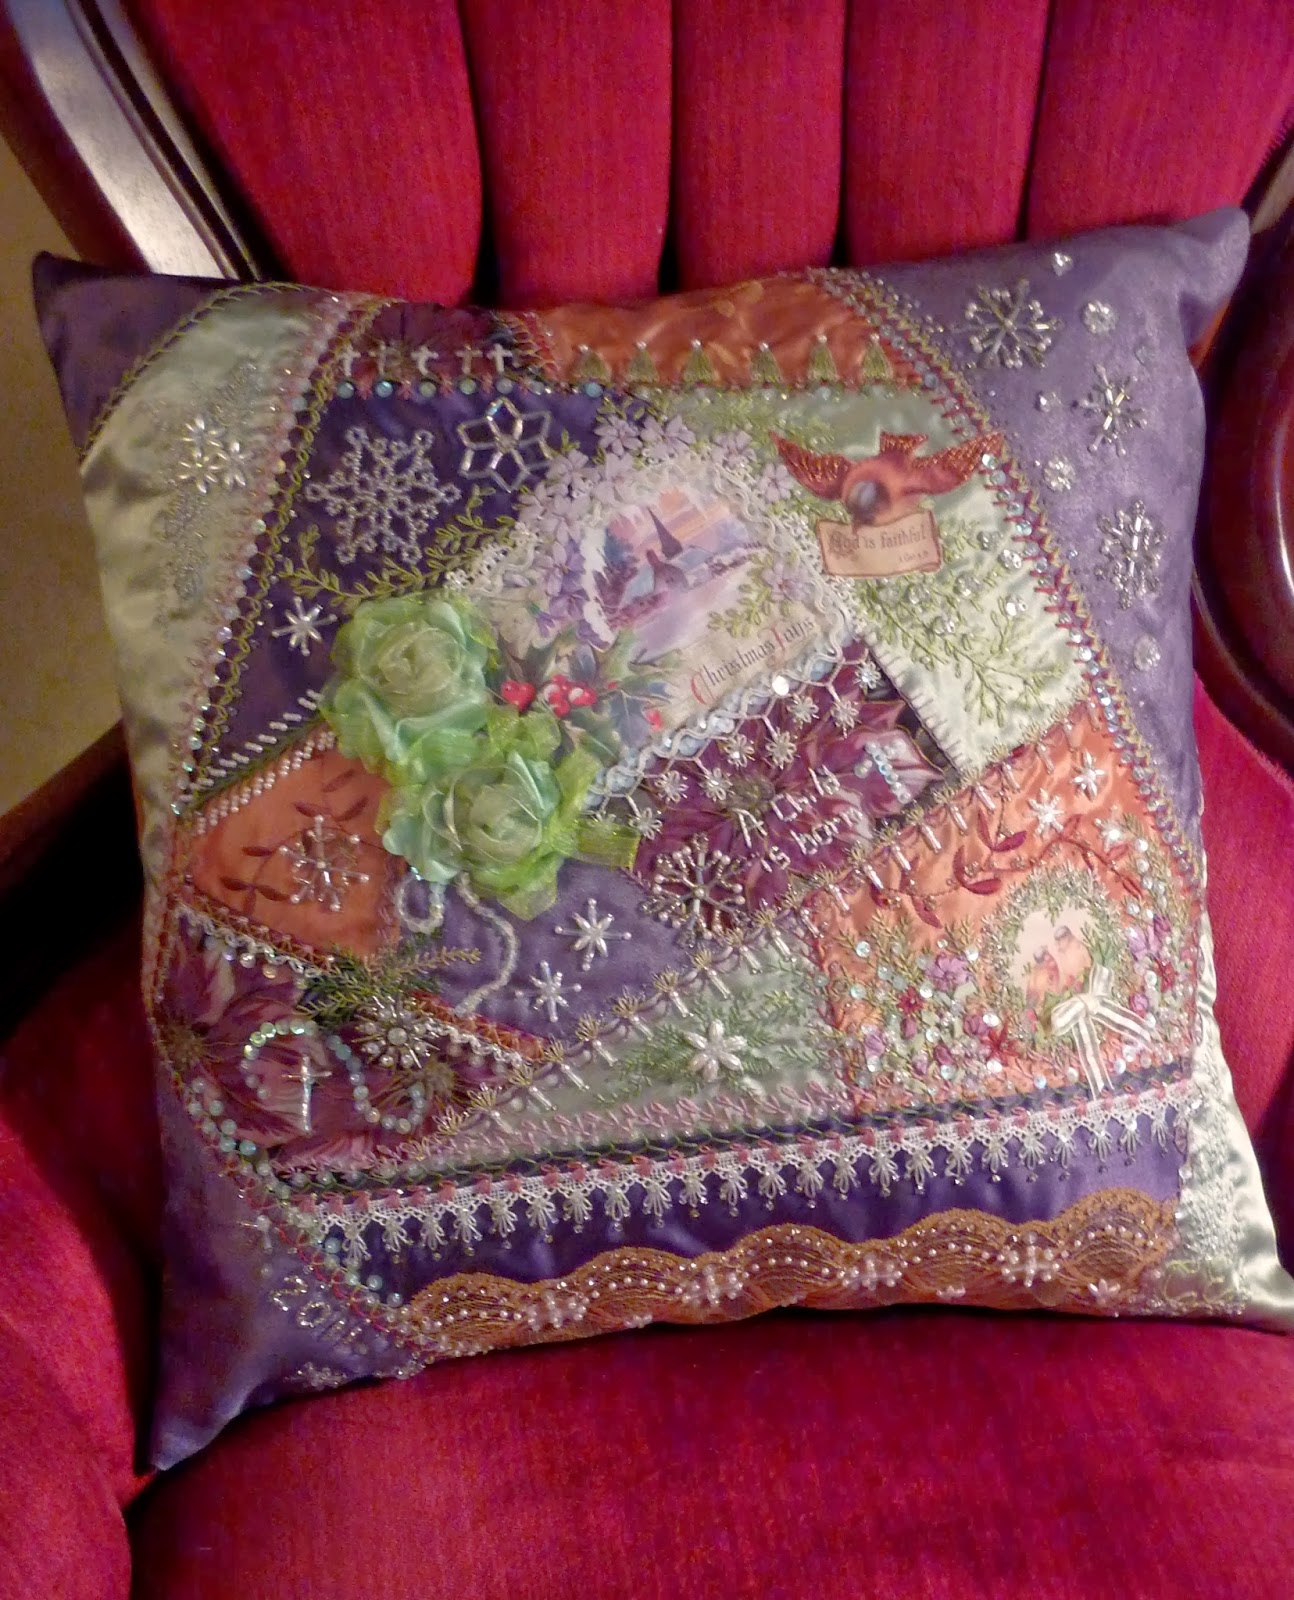
Lavender and Green CQ Christmas Pillow Completed

I've been having those moments where I ask myself "Why didn't I do this as soon as I finished my block(s)".  I can put these together in just a few hours and the more I do the quicker they go.  This block and the block on the last post have been sitting around since 2011.  They were created for Pat Winter's Crazy Quilt Gatherings publication (Issue 4, WI 2011).  I know many (if not all) of you interested in CQ are familiar with Pat.  If not, you must link to her HERE!  She is so talented and so sharing in her knowledge.  Pat was a huge inspiration to me when I began my journey in CQ.  Warning:  Lots of photos below.
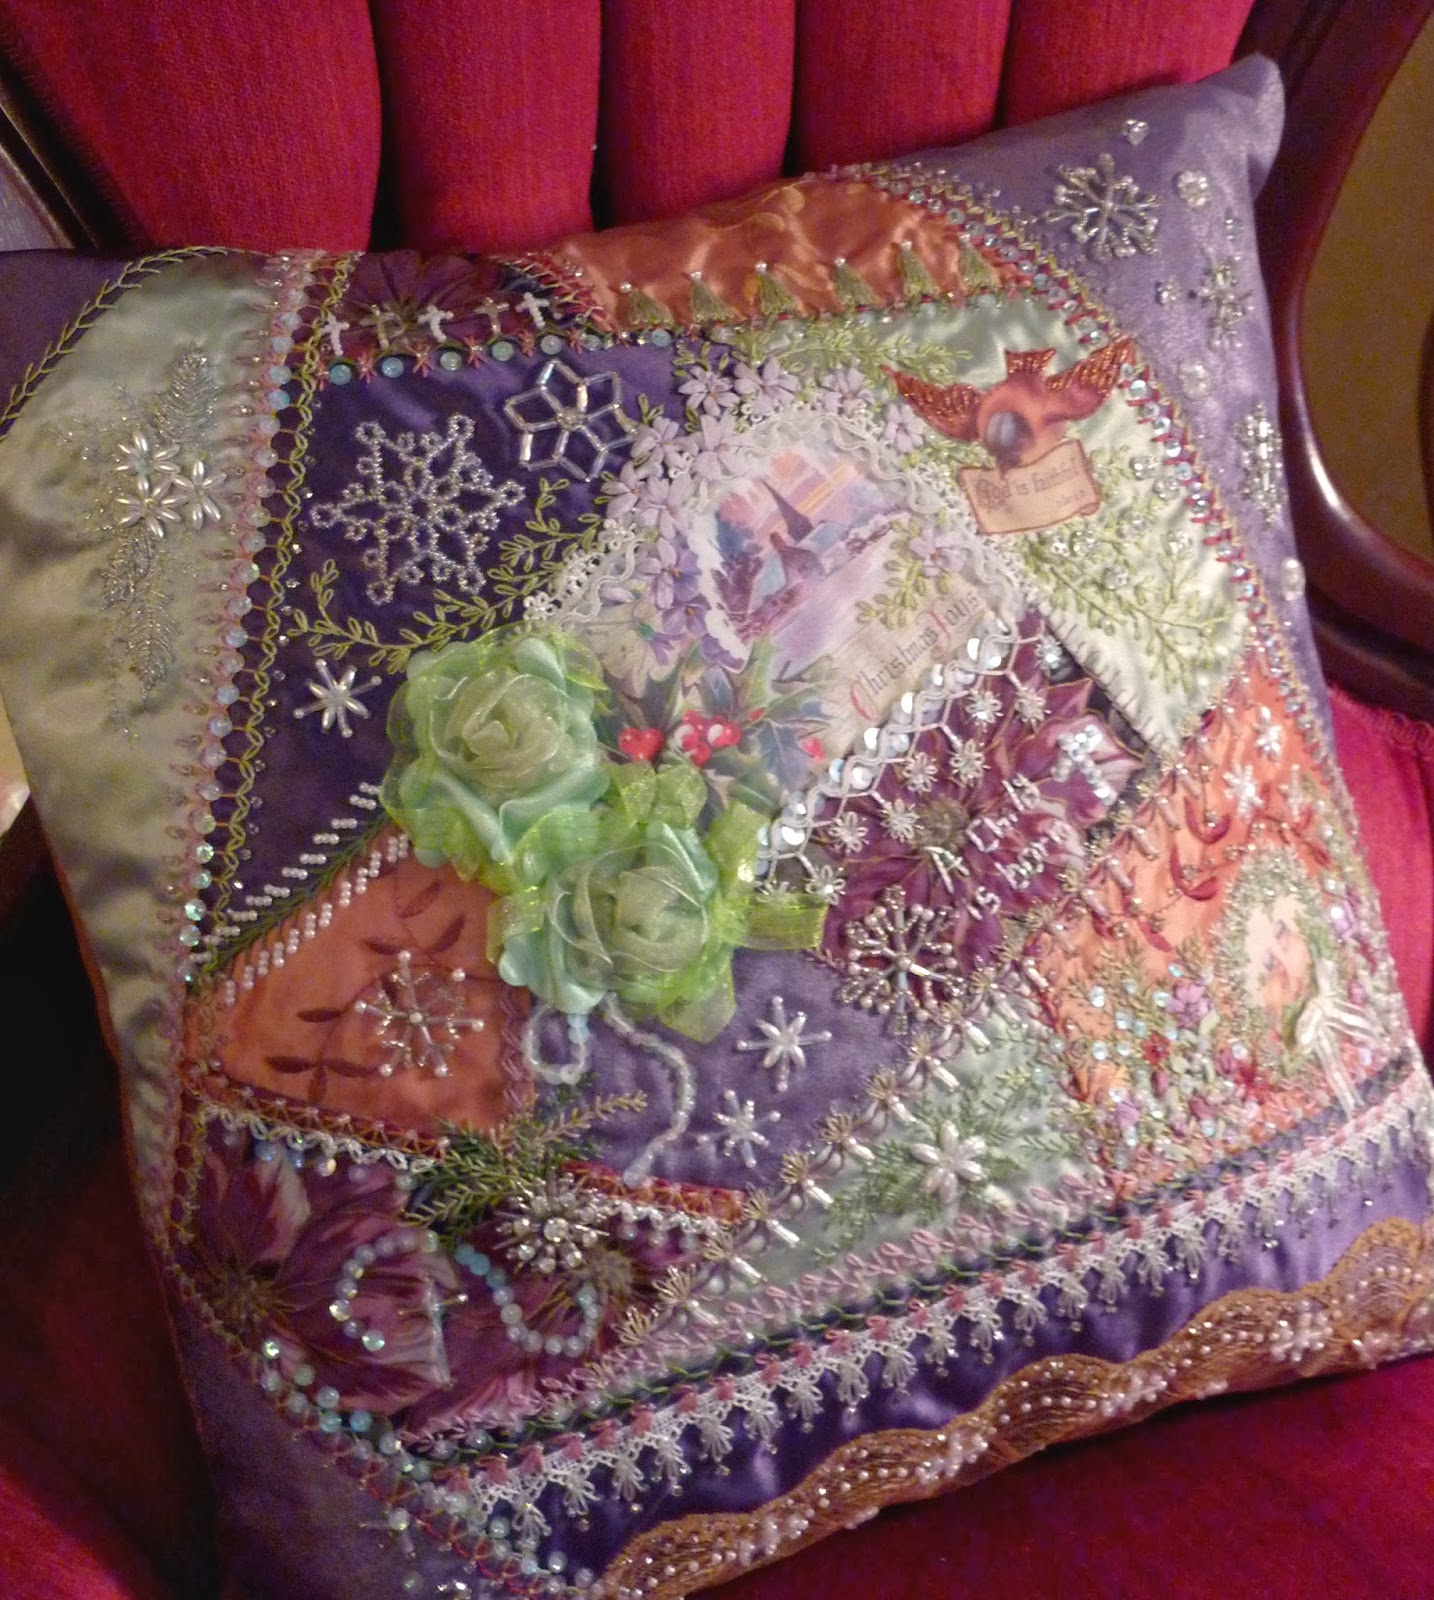

This block is dripping in sequins, pearls and lots of sparkle.  I wish I could convey it in the photos.


I wanted to go for a non-traditional Christmas color and this postcard was my inspiration.  Lavender being my favorite color also made it easy to decide.  I also loved that this postcard had holly and violets together.


My mother-in-law had given me some Christmas fabrics when she moved into an apartment and I found these three small scraps of purple poinsettias.  I literally used all there was on this block and as you can see that wasn't much.


I pulled some other related colors and wanted to add a contrasting color but not yellow.  This is more of a subtle amber contrast color, fabric left over from my fall pillow.


I know most of us like close-up photos, so following are lots of photos showing close-ups and before, during and afters.


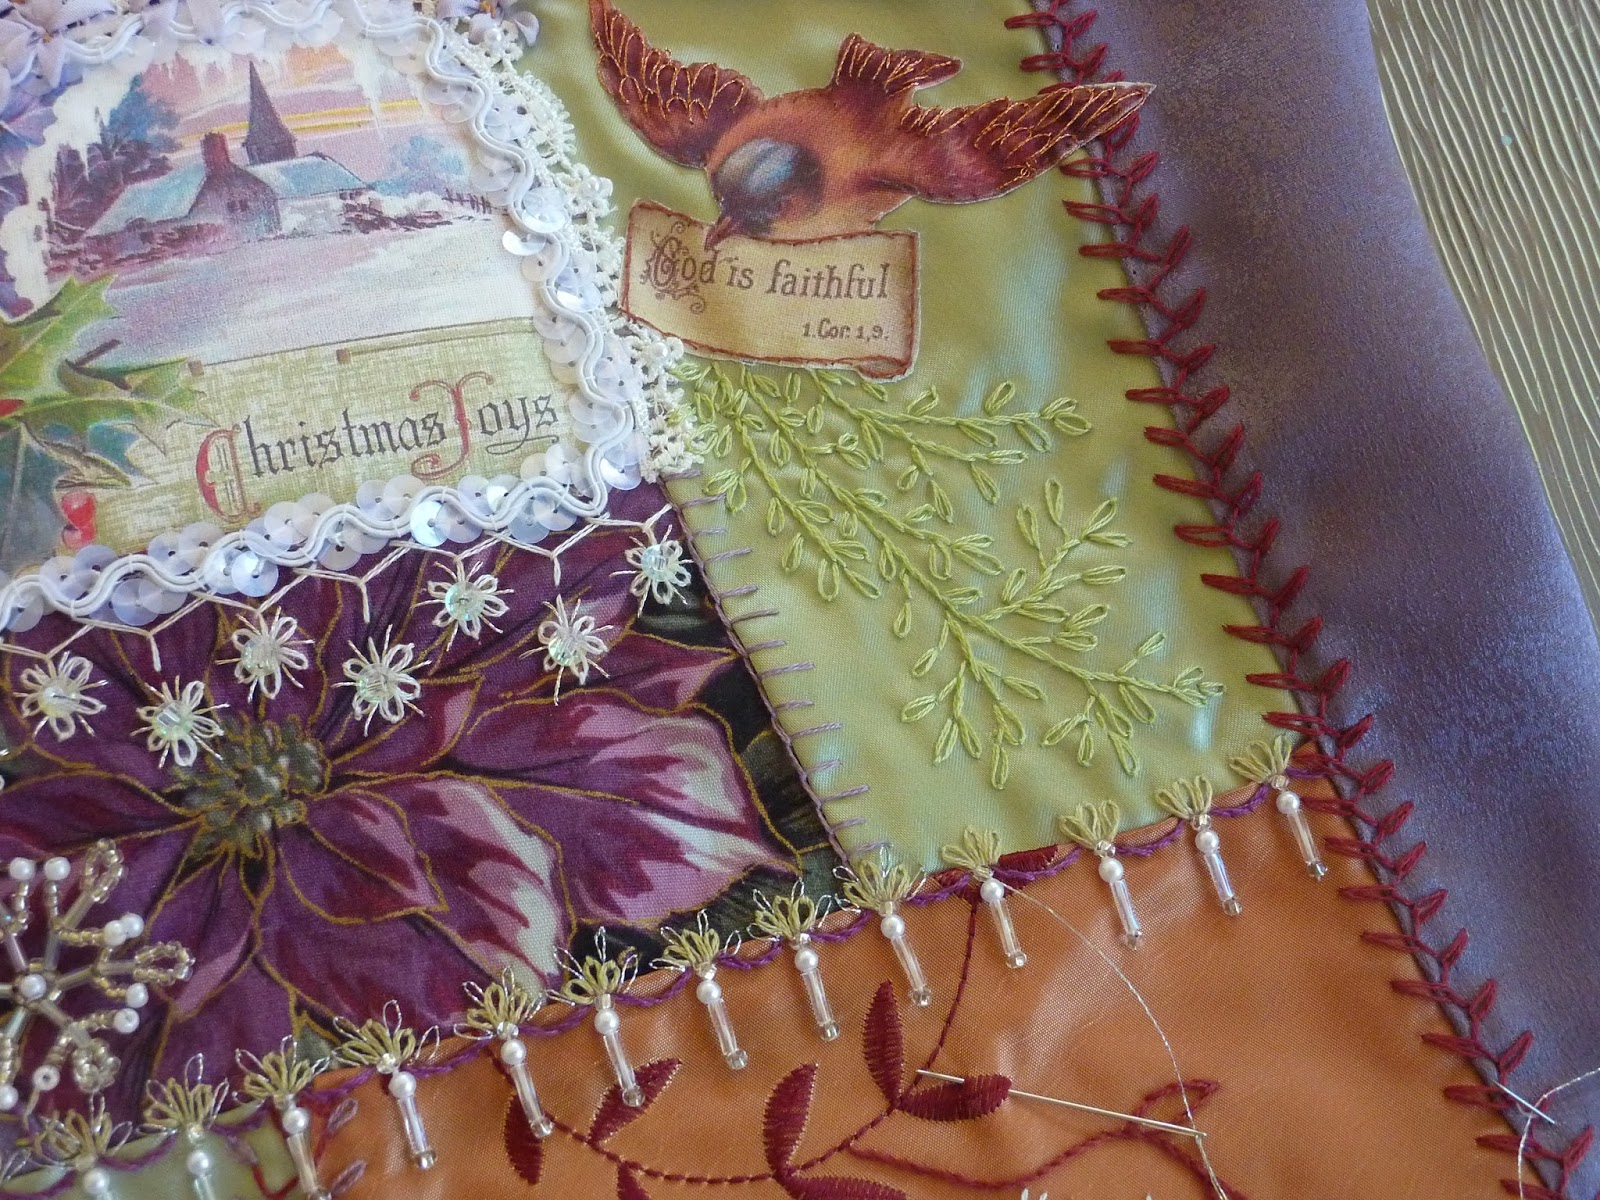


I do want to mention that the beautiful snowflake shown directly below is a blog prize I won from Marie Alton.  It was perfect for this block which has a snowflake theme.  Her blog is sredeluxe.blogspot.com.  


See...2011!  Maybe I should change my ways ~ lol.


Some of my snowflakes came from scrapbooking embellishments.  There were beads that are lightly wired and I simply stitched them on.


I am happy to announce I only have one more pillow to complete for my finished blocks.  I am going to be doing some more mini blocks for two reasons: (1) I want to finish my CQJP2013 commitment and (2) we are planning a trip soon to Arizona and New Mexico and these are super 'take along' pieces to work on while travelling.  We are hoping the weather in Arizona and New Mexico is warmer and more pleasant than here in Iowa!  We are ready for a break from this as are most others I know.

Saturday, February 1, 2014

BJP (Bead Journal Project) 2012 Project Completed


Better late than never I always say.  As you know I am spending the first part of this year catching up on unfinished projects.  In 2012 I participated in BJP and have had the pieces sitting around all this time while I tried to figure out what I wanted to do with them.  


I found this fabric, 2 yards, on sale for $2.00.  The antique doily runner is from a garage sale or shop and had a tag of $7.00 still attached.  I couldn't remember when or where I purchased it, but was saving it for something special.  It was perfect for this!  I used the fabric and made binding for each of the beaded lace pieces, hand stitching it on.  I also hand stitched the lace runner in place, stretching and measuring as I went.  I still need to buy a dowel for the top pocket for hanging...and then find a place to hang it.  The entire piece is 5' long x 14.5" wide.  It was difficult to photograph.  You can view close-up photos of my monthly beaded pieces by selecting the BJP tab near the top of my blog.


I had run out of ecru/ivory seed beads at one point and used black seed beads instead until I could find more.  I have added the same binding to these two pieces and found two more doilies that matched each other.  I am planning on mounting these and will probably frame them.  It feels so good to finish projects - especially when the results turn out the way you hoped.


After reading the comments on my last couple of posts I know I'm not alone.  I'm not sure if I'm the last to finish my BJP, but I doubt it.  Technically I'm not done until I finish the last two pieces, but they are next on my 'to do' list.

Sunday, December 29, 2013

CQJP Completed; on to BJP 2012

Well, I made the ultimate sacrifice today.  I stayed inside in my robe all morning rather than going out in this freezing weather so I could complete another project (UFO).  My doll size quilt now has a band and backing all tied into place.  Oh the sacrifices I make *giggle.


Right now it is hanging on my wall above my bookcase so I can enjoy it a few days before it goes into the doll trunk stash.  Looking at it as I bound it I was thinking it could make a really pretty pillow but decided to stick with my original plan.


I tied the front and back together just as my grandmother used to do her quilts, using the same golden thread as used for stitching the seams.


Below are a couple of plate ornaments that I purchased while on vacation.  They are just the right size for the trunk collection, about 2 1/2" - 2 3/4" diameter.


They are shown again below with a few other pieces I have collected over the years including a silver coffee urn, some miniature clothes pins, a rhinestone crown, a couple of tiny boxes with floral motifs and a tiny camera.  These aren't all appropriate for the Victorian era, but the clothes pins were too cute and I love the camera.  I had one of these cameras when I was much, much younger.  You could actually buy rolls of film for it and take photos!  It is only about 2" wide x 1 1/2" high and made out of the same material as larger cameras.


As soon as I completed my mini quilt I rummaged through my stash of UFOs and decided to work on my bead journal project (BJP) from 2012.  I experimented with bead embroidery by creating lace designs, some original designs and some fashioned following the design of actual pieces of lace.


I think I will put a stiff backing behind each and overlap them similar to how they are pinned in place here.  I will then probably bind the outside edges and back the entire piece to make a hanging.  That could all change once I get going on it.  I'm not sure if I will stick with the fabric I've pinned along the edges in these pictures.


Hope you all have a wonderful New Year 2014.  The new year will start off with a new moon this year.  That's a good sign that it will be a fresh new beginning.  Right?

I will be using my new word "FOCUS"!  Do you all have an inspirational word chosen to guide you through the coming year?

Sunday, March 10, 2013

Project Repaired and Fabric Dye Experiment/BooBoo

I have been determined to finish up some of my lingering projects and get them out of the way before I move on.  Somehow I went backwards this weekend.  I was so determined!  It wasn't all bad, but it seemed that everything I attempted on Saturday wasn't going as anticipated.

I did manage to repair this beaded amulet bag necklace.  It was my early morning project.  The strap had broken and as you probably know, the beads spread everywhere when that happens.  It was several years back, so I was hoping I had recovered all the beads at the time.  


The strap is made up of three strands and portions of two of them had broken.  This was made before Fireline was invented, or at least before I had heard of it.  The long black beads (bugle beads) had rubbed on the threads I presume and worn through the threads.  I first reinforced the unbroken strand and then did the same with the remaining strands adding in the missing sections as needed.


Of course I was a few beads short but fortunately had some replacements in my studio.  One UFO down and I am too embarrassed to tell you how many remain.  I will tell you I have about four necklaces I made but just never added the closures.  Why do I do that!  (Please don't analyze me, that is rhetorical ~ lol).


I was next determined to 'antique' the white lace I purchased to finish up my CQJP 2012.  I had some Rit dye waiting to be used.  I've never used Rit before this but had purchased chocolate brown, pink and green for when I was in the mood.  Of course I didn't want it to go to waste so I through in some doilies and a couple of other pieces of trim.

This ended up being a new project in the making.  The trim actually ended up a dark chocolate almost immediately so I ran to my room and grabbed a stained and dingy (white) top I had in my closet and through it into the vat.  I now have a new project to work on :-(

Here are my 'brown' dyeing results.  I want to use the laces to dress up the V-neckline of the t-shirt type top.  The color you see on the lace is some fiber I had and am thinking about incorporating into the mix.


It was interesting to see how the dye took on the various trims.  The eyelet trim above really surprised me as did the two doilies immediately below.  The doilies were exactly the same but one dyed darker than the other.


The pieces all coordinate nicely and it is a nice color, but the lace won't work on the project I had intended to use it on, so it will probably ended up on this shirt.  As you can see below, the white thread on the t-shirt didn't take the dye so the lace trim will cover that nicely.  For now I will set this aside while I work on (or mess up) some of my other UFOs.


I forgot to mention I was also working on another project.  


I decided to base paint this teapot white.  Note to self:  always clean the pieces with vinegar to remove oils and dirt.  I tend to just dig right in to a project...I'm bad.  Long story short...I sprayed it with paint which didn't go on too smoothly and it was older spray paint which seemed to easily get runs.  Discouraging, but I'll figure something out.

Can't wait to see what today brings.  The genealogy is going great though, except that I am spending hours on it and not getting to my usual blog visits and I apologize for that.  I thank you for taking the time and leaving such nice comments when you visit my blog.  I really love hearing from you and keeping in touch.